
 English
 中文简体
中文简体 日本語
日本語 한국어
한국어 Español
- Type:
- Industry News
- Date:
- 2026-Oct-02
Content
- 1 What Separates Silicone Squishy Toys from Foam and Gel
- 2 Materials and Tools to Gather First
- 3 Design Choices to Settle Before You Cut a Mold
- 4 How to Make Silicone Squishy Toys, Step by Step
- 5 Color, Texture, and the Details Buyers Notice
- 6 Comparing the Cores Used in Silicone Squishy Toys
- 7 Mistakes That Ruin a Batch
- 8 Safety, Testing, and Compliance
- 9 From a Workbench to a Factory Floor
- 10 Frequently Asked Questions
Squeeze a well-made silicone squishy toy and three things happen at once: the surface gives way instantly, the core pushes back slowly, and no sticky residue is left on your fingers. That feel is never an accident. It comes from a specific combination of silicone chemistry, a carefully built mold, and a curing routine repeated thousands of times without variation. We have been producing slow-rebound squishy toys in Yiwu since 2015, so the guide below follows the process as it actually runs on our workshop floor.
What Separates Silicone Squishy Toys from Foam and Gel
Most budget squishies are polyurethane foam or TPR gel. They are cheap and light, but the seams split and the rebound fades within weeks. Silicone recovers at a molecular level, so a well-made piece survives tens of thousands of squeezes without losing its shape, and it can be formulated as food-grade material that passes FDA and LFGB testing.
There are two production routes. A solid body is cast from soft platinum-cure silicone, usually between Shore 00-10 and Shore 00-30. A slow-rising pinch toy uses a silicone shell around a softer interior, which may be silicone foam, microbead fill, or a low-density gel. The shell holds the shape and the printed detail, while the core decides how slowly the toy creeps back. Our breakdown of how squishy toys are manufactured covers the equipment behind both routes.
Materials and Tools to Gather First
Silicone is unforgiving when a missing item turns up halfway through a pour, so lay everything out before you mix anything.
- Platinum-cure silicone, part A and part B, Shore 00-20 or softer for the outer skin.
- Silicone pigment or skin-safe mica powder, never water-based paint or oil colorant.
- A two-part master mold cast from a sculpted pattern or a 3D print.
- Silicone foam or gel core material for the slow-rebound interior.
- Mold release, mixing cups, stir sticks, and a digital scale accurate to 0.1 g.
- A vacuum chamber or pressure pot for degassing.
- Nitrile gloves, safety glasses, and a ventilated bench.
Design Choices to Settle Before You Cut a Mold
Aim for a chunky, rounded silhouette roughly 6 to 10 cm across, with wall thickness between 3 mm and 5 mm. Thin fins and hard undercuts tear during demolding and feel unpleasant in the hand. Leave a small flat area for a hanging loop if the toy will be sold as a pendant, and keep the surface smooth enough that pigment sits evenly.
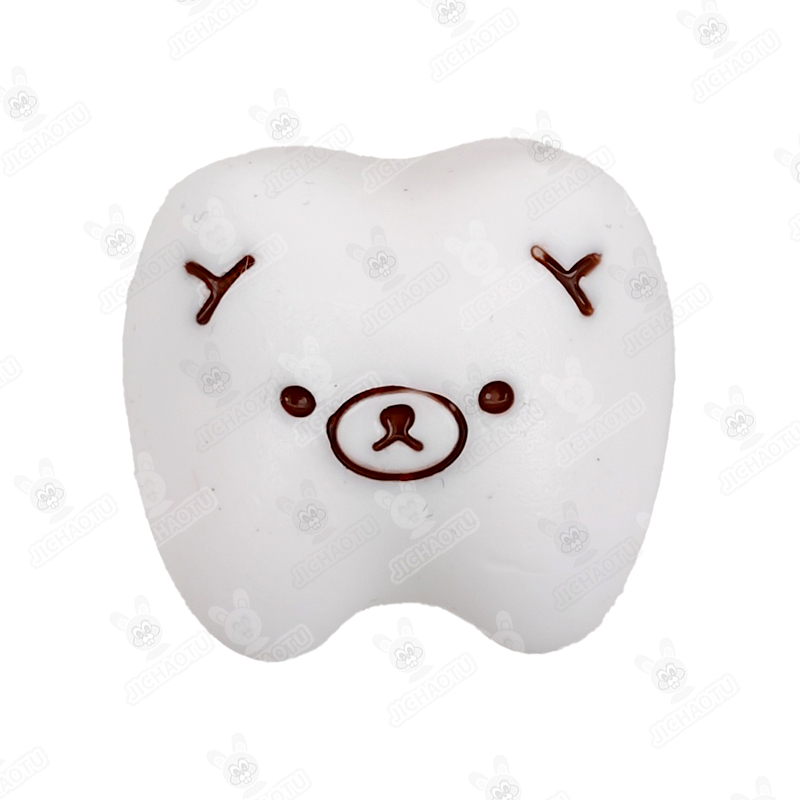 Relax Bear 1 SquishyMaterial:Food-grade SiliconeView Product →
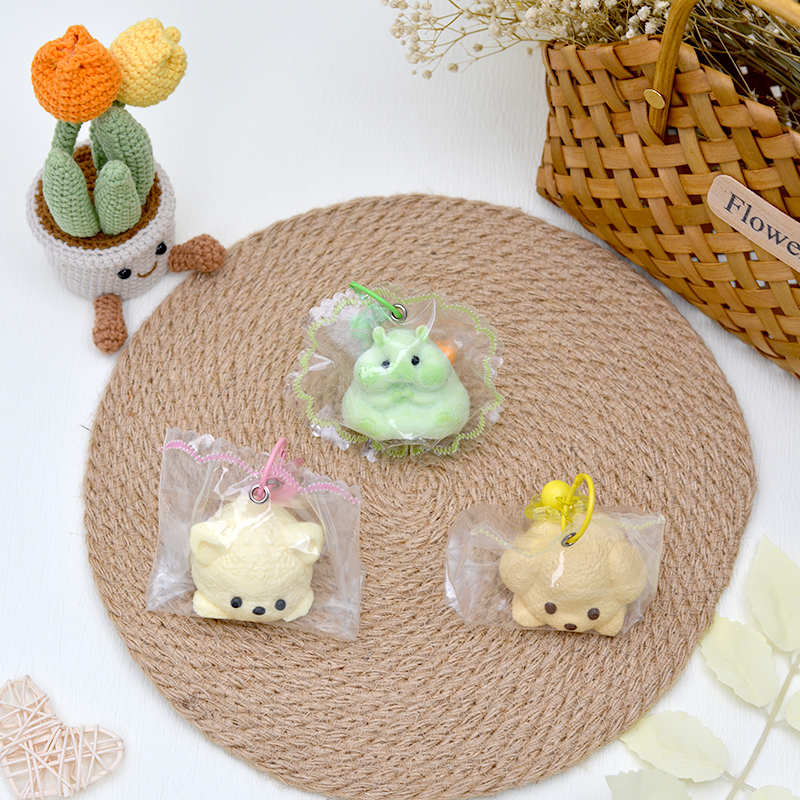
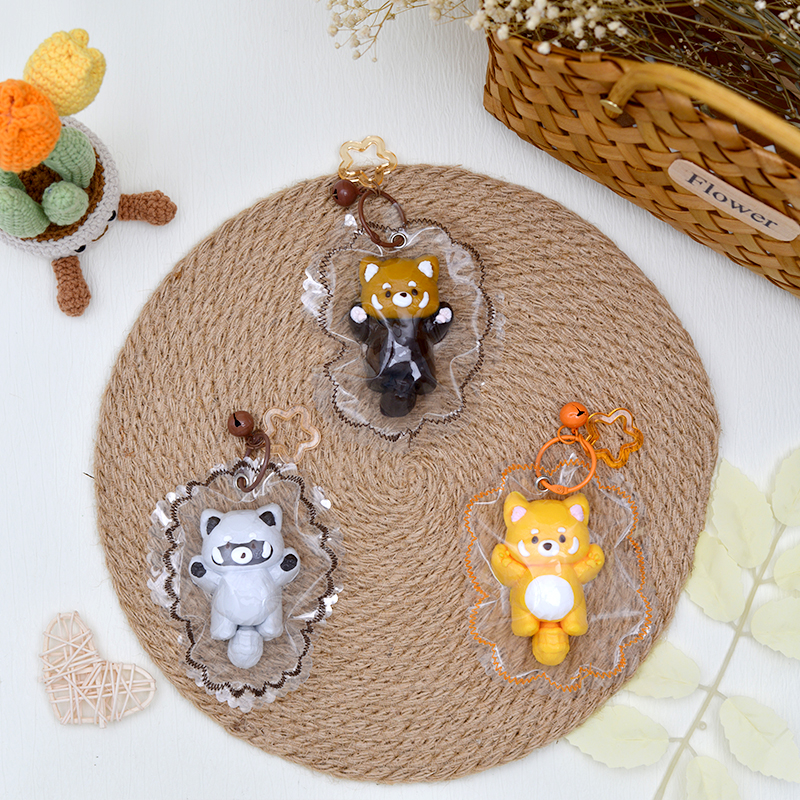
Animal forms suit the material because their curves spread stress evenly, while dessert and food shapes give you an obvious place to play with color. Whichever theme you choose, hold the master in your own hand first: if it does not feel good to squeeze before the mold exists, it will not feel better once it is cast.
How to Make Silicone Squishy Toys, Step by Step
The sequence below is the one we follow for small and medium runs. Every step counts, but steps three and four decide whether a batch is sellable.
Step 1: Build the Master Pattern
Model the shape in clay, resin, or a 3D print, then sand it smooth and seal the surface so mold silicone cannot bond to it.
Step 2: Cast the Two-Part Mold
Pack the master into a mold box and pour firm Shore A silicone around it up to the parting line. Once that half cures, flip the block, apply release agent, and pour the second half. Add one sprue at the highest point and two or three vents so trapped air has an escape route.
Step 3: Weigh, Color, and Degas
Measure part A and part B by weight on a 0.1 g scale, exactly to the ratio your supplier specifies. Add pigment in small increments, because more than roughly two percent weakens the cured skin. Stir slowly for two minutes, scraping the walls and the bottom of the cup, then degas under vacuum until the bubbles stop rising.
Step 4: Pour the Shell and Set the Core
Pour a thin layer into the closed mold and rotate it so the silicone coats every cavity. Place the foam or gel core before the shell starts to gel, then top up to the sprue and let gravity settle the material.
Step 5: Cure, Demold, and Trim
Let the mold rest at room temperature for 24 hours, or cure at 60 °C for two to three hours. Heat shortens the cycle but also shortens the working time, so keep batches small. Demold gently, then trim the sprue and parting line with a sharp blade.
Step 6: Seal and Dust
A light dusting of cornstarch or a matte silicone topcoat removes the tacky feel and stops the surface from collecting lint in the box.
Color, Texture, and the Details Buyers Notice
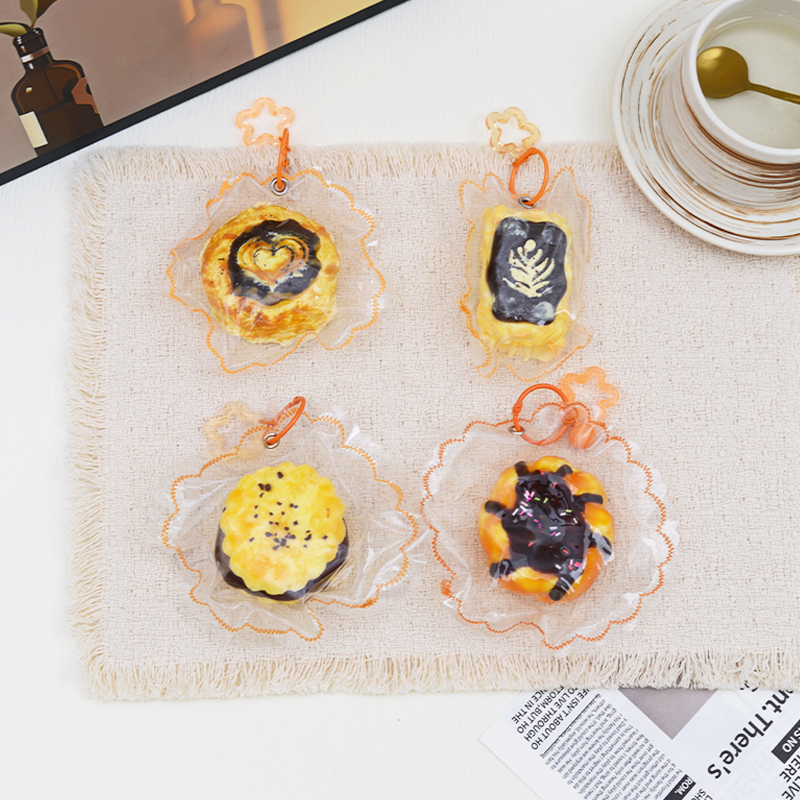
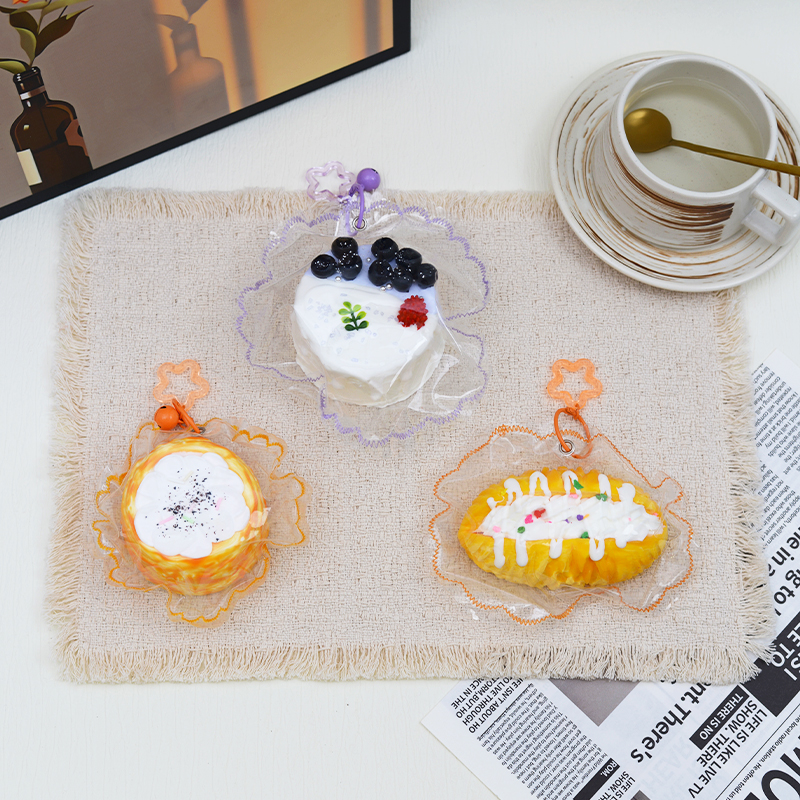
Color is where a functional toy becomes a collectible. Use silicone-compatible pigment rather than craft paint, and keep each design to three or four tones so the molded shapes stay readable at a glance. Airbrushing delivers soft gradients, while hand-painted accents work best on faces and small props.
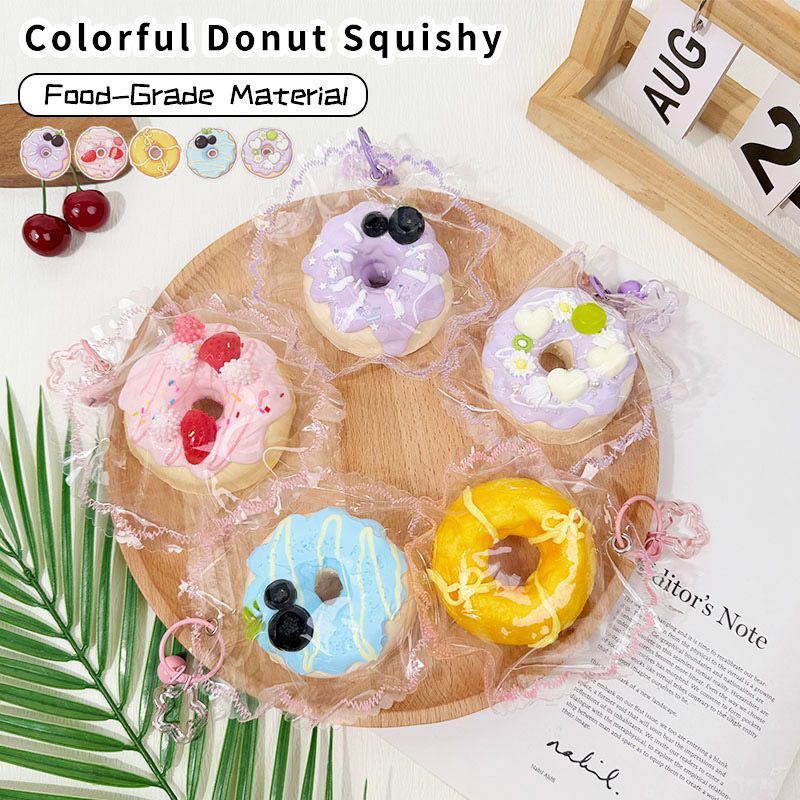 Colorful Donut Squishy ToyMaterial: Food-grade SiliconeView Product →
Texture matters just as much. A matte finish reads as premium, while a glossy coat shows fingerprints and scratches faster. Test any finish on a sample piece before it goes anywhere near a production mold.
Comparing the Cores Used in Silicone Squishy Toys
The core decides how a toy rebounds, how long it lasts, and what it costs to produce.
| Core material | Rebound | Working life | Best suited to |
|---|---|---|---|
| Solid platinum-cure silicone | Medium | 5 years and up | Simple shapes, pendants, teethers |
| Silicone foam | Medium to fast | 3 to 5 years | Full-body squishies with an open texture |
| Gel or microbead fill | Slow | 2 to 3 years | Slow-rising pinch toys |
| Polyurethane memory foam | Very slow | 6 to 12 months | Budget novelty items |
Mistakes That Ruin a Batch
- Mixing by volume instead of weight, which leaves permanently uncured patches.
- Using latex gloves or sulfur-contaminated tools, which poison platinum cure and keep it sticky forever.
- Skipping degassing, which leaves visible bubbles on the surface.
- Over-pigmenting, which lowers tear strength in the skin.
- Demolding too early, which stretches the piece out of shape.
- Storing finished toys in a hot warehouse, which accelerates breakdown in softer cores.
Safety, Testing, and Compliance
Once the process is stable, safety becomes the selling point. Food-grade silicone is the baseline for anything a child may put in their mouth, and the certifications buyers ask for most often are FDA, LFGB, SGS, ISO9001, and CPC. A realistic test plan covers physical performance such as tensile and tear strength, chemical analysis for heavy metals and phthalates, and a durability check that cycles the toy hundreds of times to confirm the rebound does not fade.
Keep a sample from every batch and record its cure date, pigment lot, and test result. That paper trail is what turns a hobby project into a product a distributor can actually place on a shelf.
From a Workbench to a Factory Floor
Scaling up changes the tools, not the chemistry. Hand pouring becomes meter-mix dispensing, vacuum degassing becomes inline degassing, and hand trimming becomes a jig-assisted finishing line. What does not change is the discipline of weighing every component and curing every piece the same way.
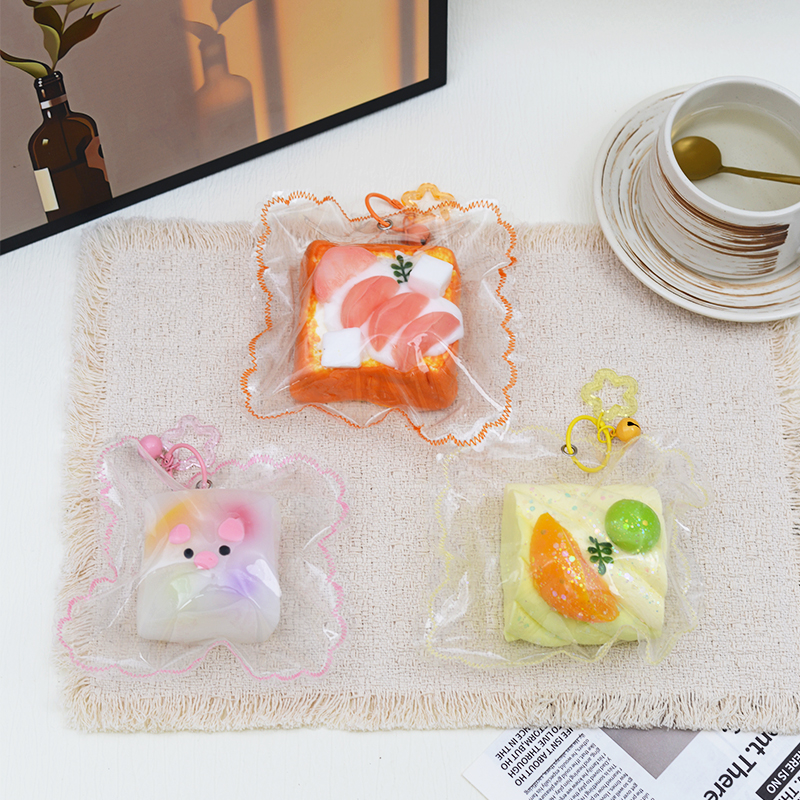
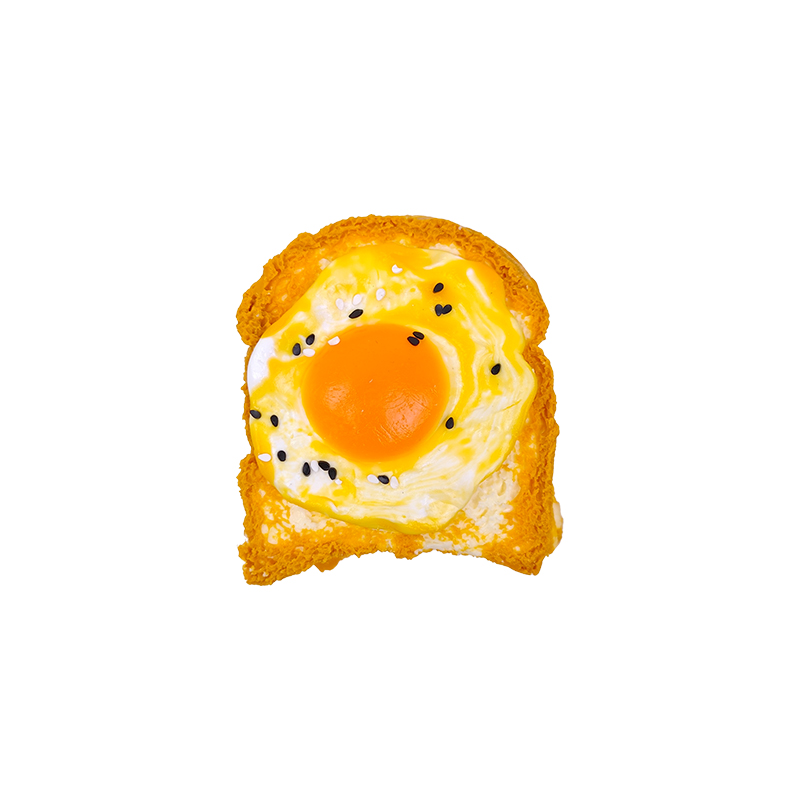 Warm Baked Toast SquishyMaterial:Food-grade SiliconeView Product →
Our own plant in Yiwu covers 10,000 square meters and employs more than 800 people, producing slow-rebound pendants under the Jichao Rabbit brand and supplying importers across Southeast Asia, Europe, and the Americas. Incoming buyers usually start with a sample order, confirm the surface and rebound, and only then commit to a full production run.
Frequently Asked Questions
How long does it take to make one silicone squishy toy?
From a finished mold, a solid piece needs about 24 hours of cure time, while a cored slow-rising toy takes an extra day for assembly and finishing. Factory runs compress this with heated curing, but the mold-building stage still takes one to three weeks.
Why does my silicone stay sticky after curing?
Almost always contamination. Latex gloves, sulfur-cured rubber tools, or an incorrect A-to-B ratio will stop platinum cure from completing, and no amount of extra curing time will fix it.
Can silicone squishy toys be made at home?
Yes, in small batches. A silicone mold, a two-part platinum system, and careful weighing are enough to produce decent pieces; a vacuum chamber simply raises the surface quality and the yield.
Making a silicone squishy toy is really a study in patience: build the shape properly, weigh the material honestly, and let the cure finish before you touch it. Get those three habits right and the rest of the process rewards you with a toy that still springs back months later. If you would like to see finished examples or discuss a production run, feel free to explore our squishy toy range and talk to our team.